I did it

Opaque are converted into JPEG to save a little bit of valuable space (I saved it to maximum quality - Photoshop noted it 10 out of 12 points of quality, so you won't notice details loss), and the transparent are both in TGA for Quake 3 and PNG for Quake Live.
Wanna see how it looks?
Check out
this download [ RAR : 50 MB
]
The RAR has around 50 MB. Good thing is that it's compressed. Even with already compressed JPEG files, the original uncompressed files have all together total of 71.1 MB! Good thing is that it's hi-res, so it will look better in the map at close lookup. However, prepare for a slightly bigger mem settings (especially com_hunkmegs). How do you calculate necessary minimum megs settings for a specific map? Because not all map data are loaded into hunkmegs, some are loaded into zonemegs, some into another mem array... Do I have to lookup for lumps data sizes and try to figure out which ones go to where?
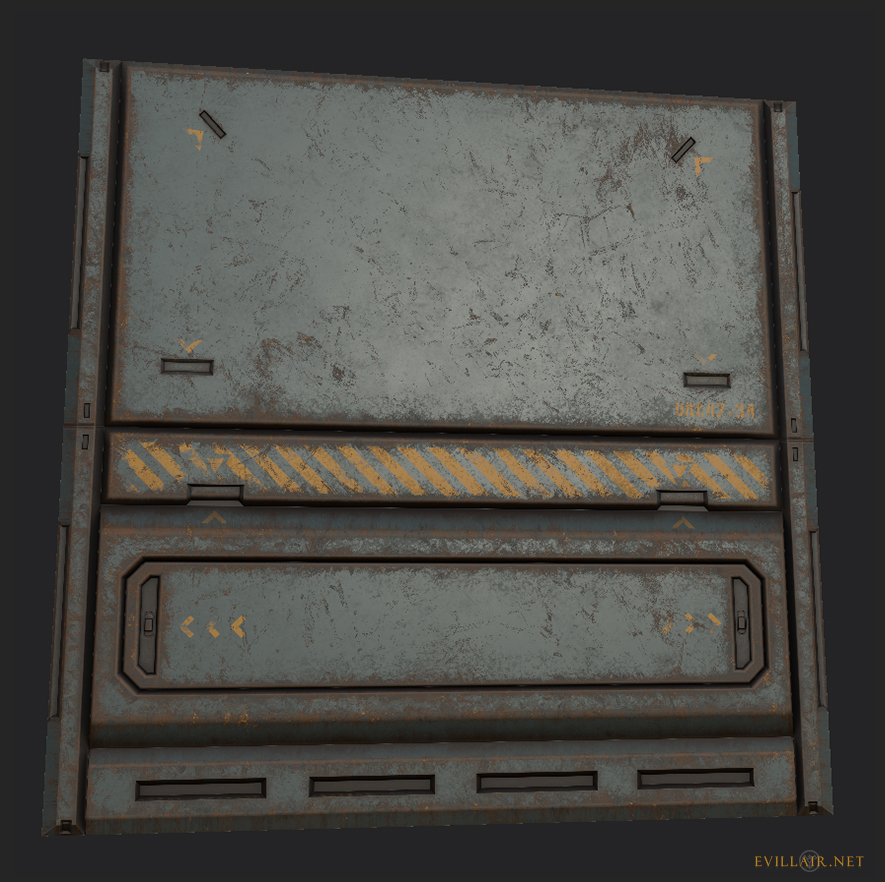
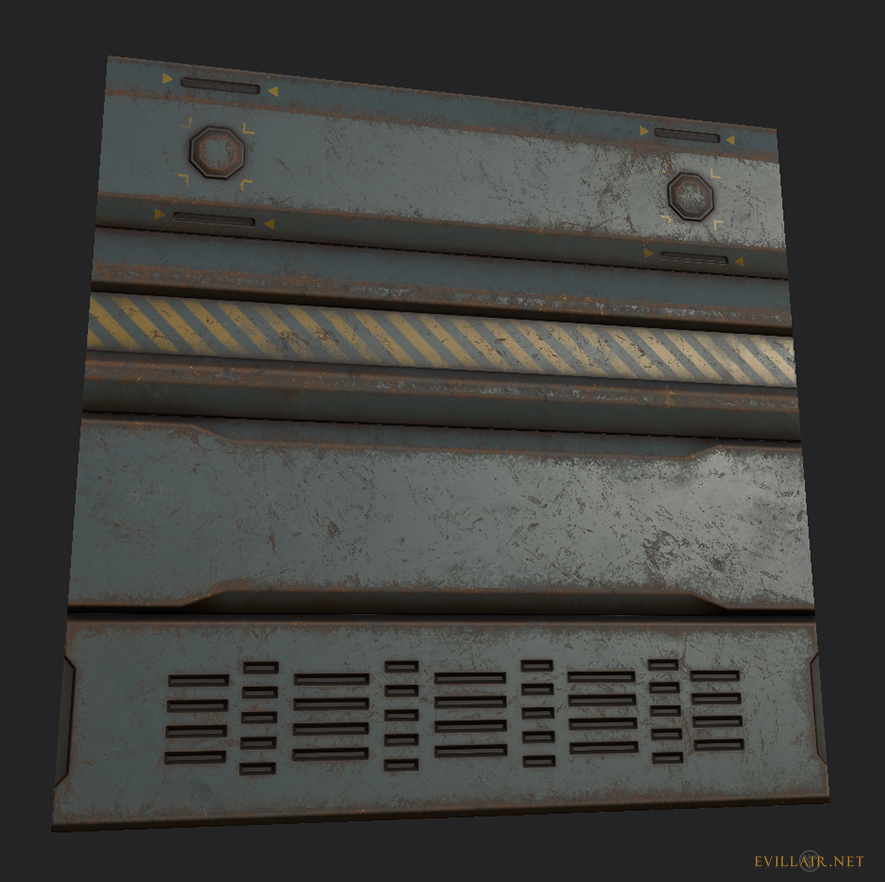
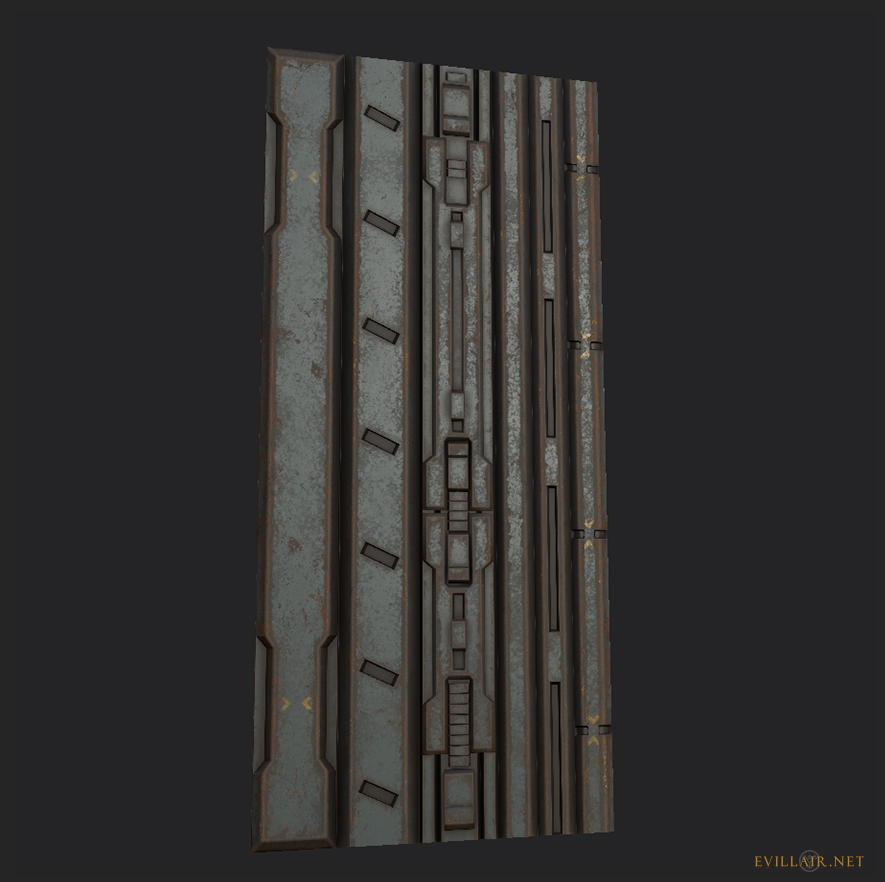
I used Photoshop to add in normal map to make it stand out and roughness map to make it stand out even more.
I extracted the green channel from the normal map into grayscale (using channel selector) and applied "Overlay" blending mode to it.
Then I placed in the roughness map, inverted colors and applied "Soft Light" blending mode to it. As it turns out, it looks more natural with "Soft Light" blending mode than with "Overlay".
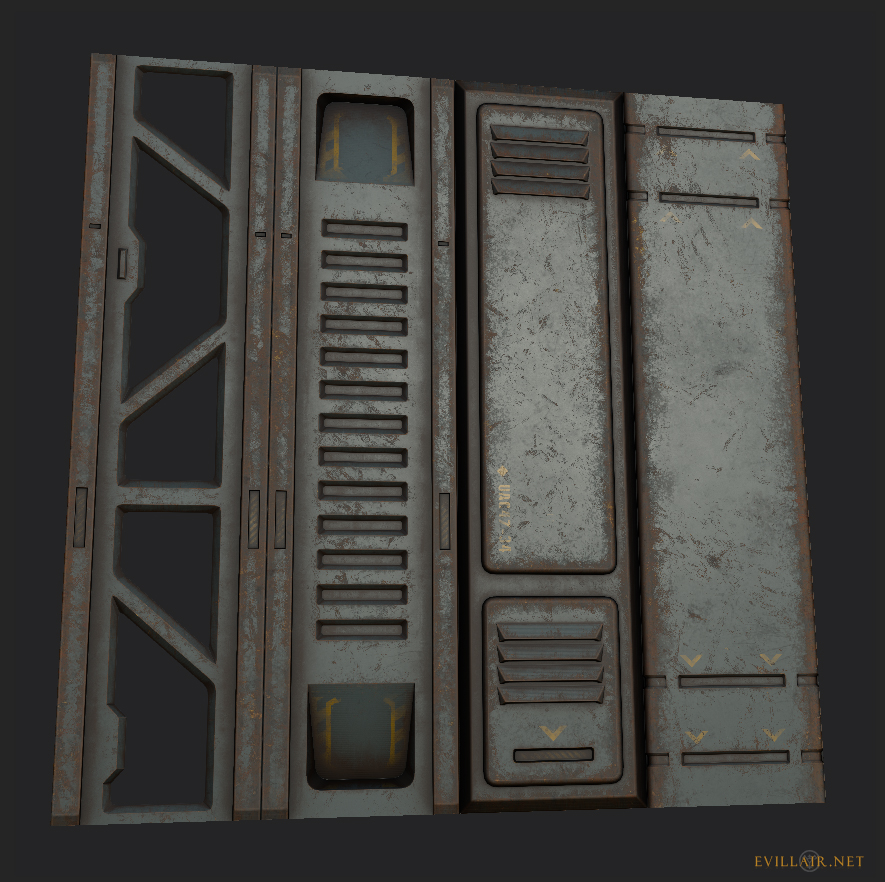
And as it turns out, I am definitely going to use some in my WIP next map Schöna. Not all, but for the sake, I'm going to install all the textures in to see, how many are going to be used. Some of them are going to be used as textures for some models, I think. Maybe crates?